


Video Invitation Studio Ecards
Design custom video invites and e-cards easily with this creative app.

Photo Video Slideshow Music
Create stylish slideshows with music from your photos in just seconds!
Video Blend - Double Exposure, BlendPic
With Photo Blend and Video Blend, you have the power to transform ordinary images and videos into extraordinary creations, making your visual content stand out and leave a lasting impression.
Transform Your Photos and Videos into Stunning Creations with Ease!
Photo Blend
Photo Blend is a versatile and user-friendly image editing tool that empowers you to create captivating visual compositions effortlessly. Whether you’re a professional graphic designer or simply looking to add a creative touch to your photos, Photo Blend offers a comprehensive set of features to turn your images into extraordinary works of art.
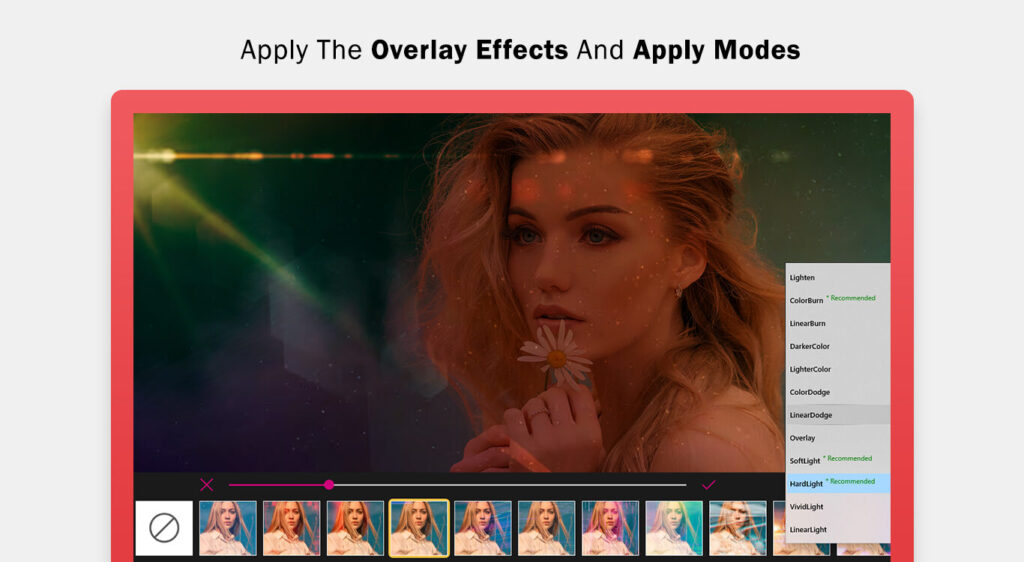
Blend Effects with Multiple Blend Modes: Unleash your creativity with a wide range of blend modes that seamlessly merge two or more images. From soft and subtle overlays to bold and dramatic compositions, Photo Blend provides the perfect blend mode for every artistic vision.
Adjust (Brightness, Contrast, Saturation): Fine-tune your images to perfection using intuitive brightness, contrast, and saturation adjustment tools. Achieve the desired mood and atmosphere for your blended photos effortlessly.
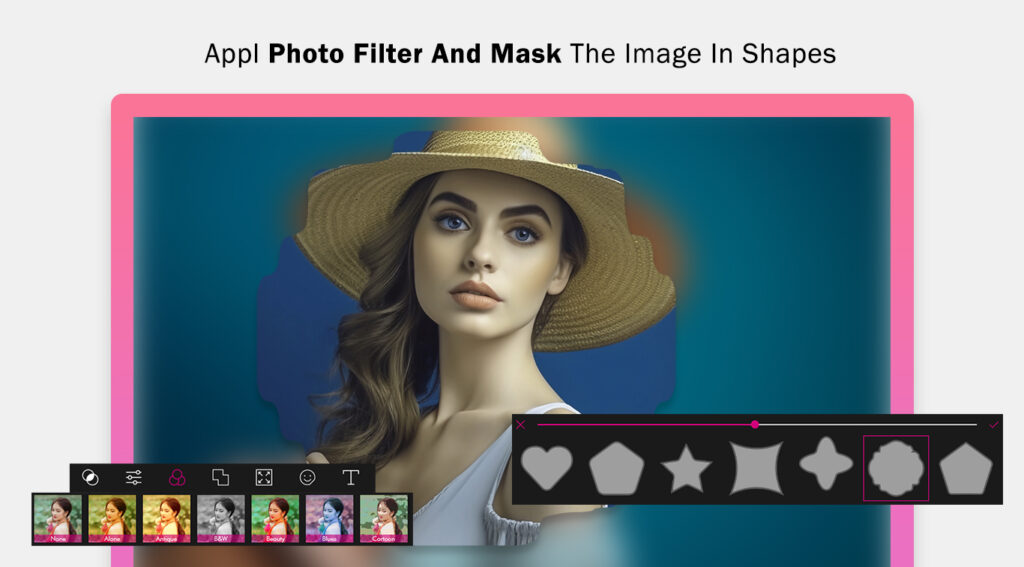
Multiple Shapes for Blending Images: Experiment with various shapes for your blending effects. Whether you prefer classic rectangles or more intricate custom shapes, Photo Blend gives you the flexibility to choose the perfect outline for your compositions.
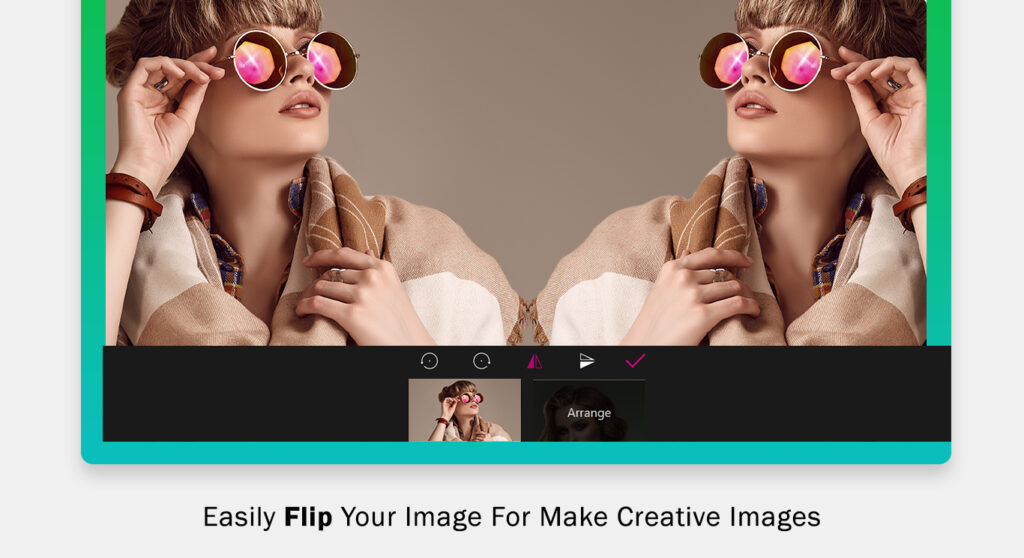
Arrange (Rotation and Flip): Easily reposition and flip your images to achieve the ideal orientation. Rotate and flip your photos to align them perfectly within your chosen shapes or background.
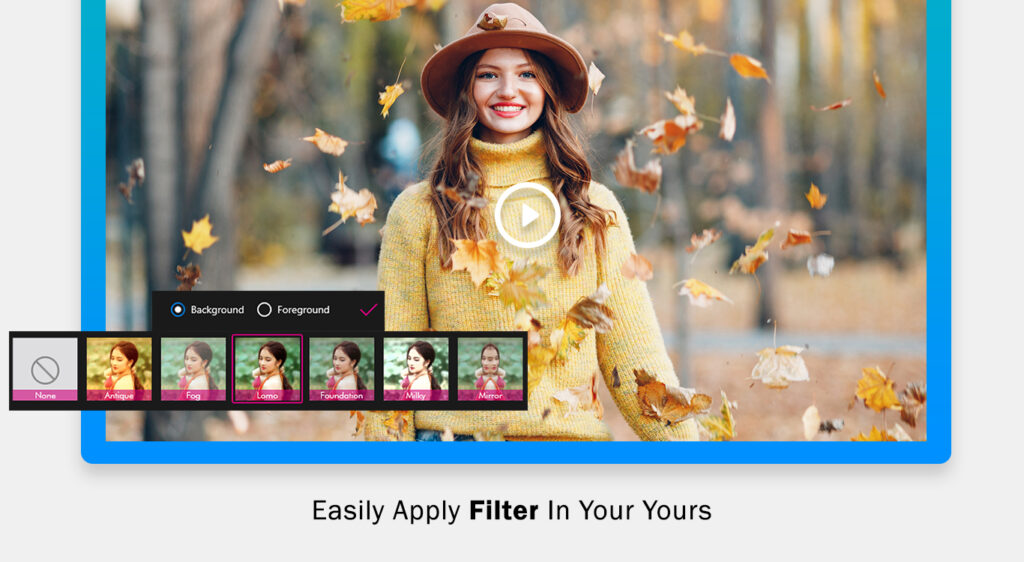
Filter Effects on Both Background and Foreground Images: Enhance the overall look of your composition by applying filter effects to both the background and foreground images. Achieve consistency and mood across your entire blend.
Add Stickers: Inject a touch of fun and personalization into your creations by adding stickers. Choose from a wide selection of stickers to express your style and creativity.
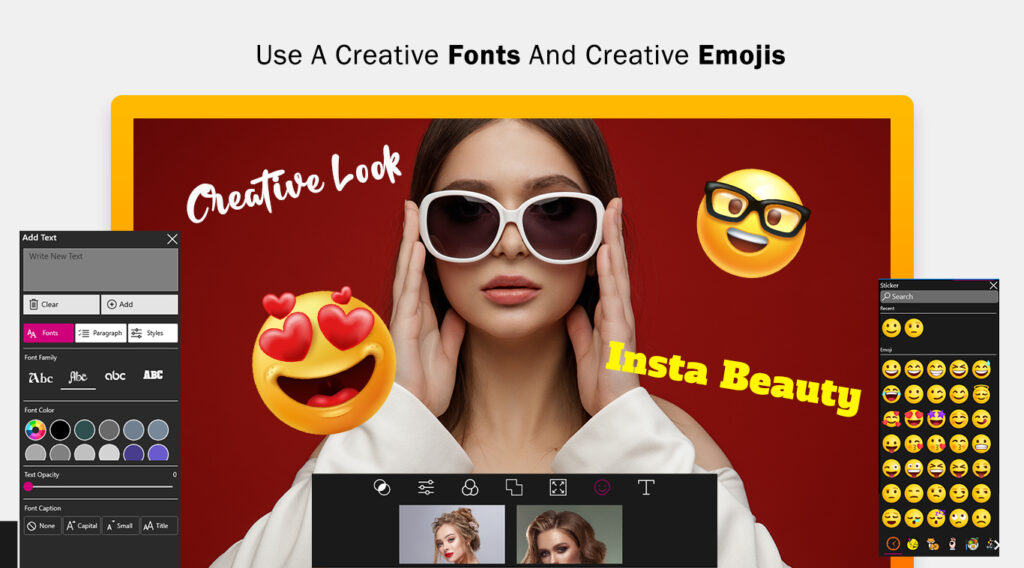
Add Text: Tell your story or convey a message by adding text to your blended images. Customize fonts, sizes, colors, and placement to create eye-catching captions, quotes, or titles.
★——— Video Blend ———★
Video Blend takes your video editing capabilities to the next level, allowing you to create captivating video compositions that seamlessly combine multiple clips and elements.
Blend Two Videos with Opacity and Trimming Functionality: Merge two videos effortlessly while controlling the opacity of each video layer. Trim and adjust the duration of your clips to ensure a smooth and coherent video blend.
Add Overlay Effect with Sequence of Images: Enhance your videos with overlay effects created from sequences of images. Achieve dynamic transitions, animations, or visual storytelling elements within your videos.
Add Filter Effects on Both Background Video and Foreground Video: Apply filters to both the background and foreground videos to maintain a consistent visual style throughout your composition.
Update Volume for Both Background Video and Foreground Video: Fine-tune audio levels for both the background and foreground videos to ensure your audio complements your visual content seamlessly.
Add Adjustment (Brightness, Contrast, Saturation): Maintain control over the video’s visual aesthetics by adjusting brightness, contrast, and saturation as needed.
Add Text: Incorporate text overlays into your videos to convey messages, titles, or subtitles. Customize fonts, styles, and animations to create engaging visual text elements.
Add Stickers: Infuse personality and creativity into your videos by adding stickers or emojis. Enhance the entertainment value and engagement of your content.
Video Blend :-
Step 1: Download the Video Blend – Double Exposure, BlendPic app from the Windows App Store.
Ensure you have the Video Blend app installed on your Windows device. You can find it on the Windows App Store.
- Open the App and Select the Video Blend Icon.
Once the app is installed, open it and locate the Video Blend icon. Click on it to access the video blending features.
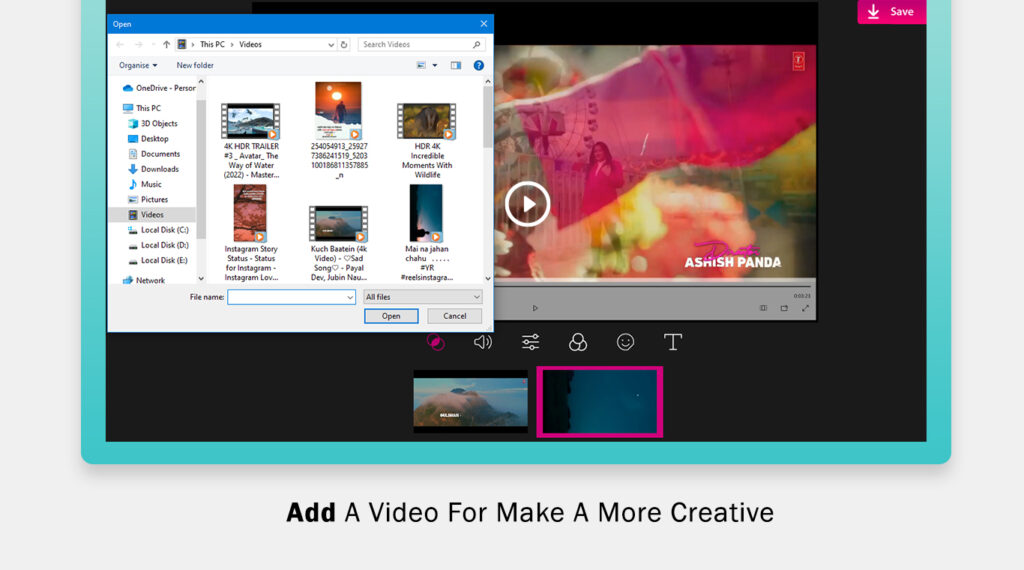
- Choose a Video from Your System Files.
Within the Video Blend interface, navigate to your system files and select the video you want to work with. This will be the background video for your composition.
These steps should guide users through the process of downloading the app and starting to use its video blending capabilities.
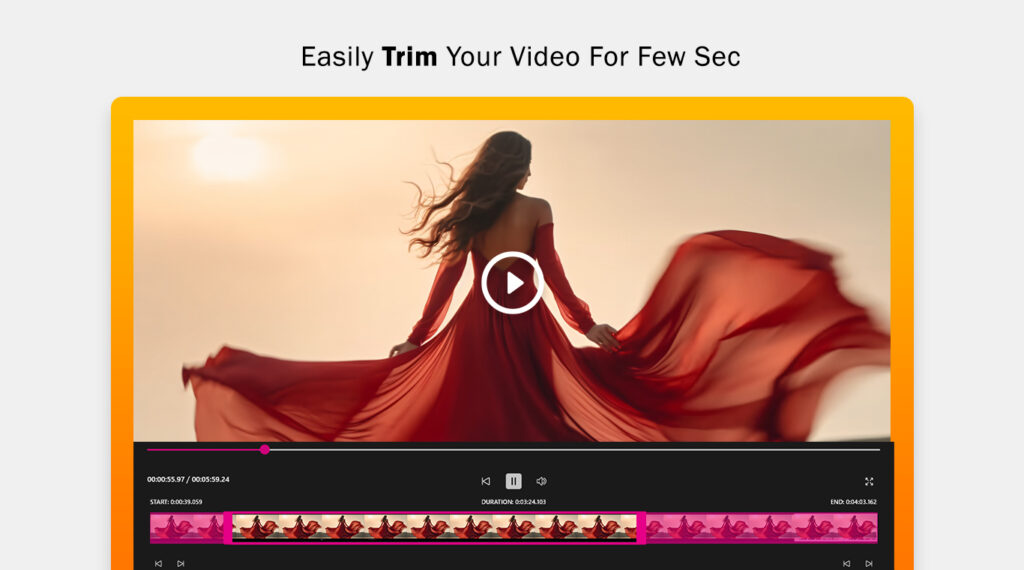
- Trim Your Selected Video.
After selecting your video, use the trimming tool to adjust the duration as needed. This step allows you to focus on specific parts of the video for a seamless blend.
- Click on the “Next” Button.
Once you’ve trimmed your video, click on the “Next” button to proceed to the next set of editing features. This will take you to additional options to enhance and customize your video blend.
These steps ensure users can efficiently trim their chosen video and progress to the next stage of editing within the Video Blend app.
- Apply Opacity Blend.
For a final touch of creativity, click on the “Opacity Blend” button. This feature allows you to choose from a variety of blending options to further refine the interaction between your background and foreground videos.
Step 2:- Choose Foreground Video.
After completing the initial video selection and trimming, click on “Tap to Choose Foreground” to select another video from your system files. This video will overlay onto the previously selected background video, creating the double exposure effect.
- Select Foreground Video.
Navigate through your system files and choose the second video that you want to blend with the background. This foreground video will contribute to the overall composition.
These steps guide users through the process of selecting and overlaying a foreground video onto the background, enabling them to create a visually engaging double exposure effect in their video blend.
Step 3:-
- Adjust Volume.
After selecting both the background and foreground videos, you may want to fine-tune the audio experience. Click on the volume icon to access the volume control feature. Here, you can independently adjust the volume levels for both the background and foreground videos to achieve the desired balance and enhance the overall audio-visual composition.
- Adjust Brightness, Contrast, and Saturation.
Within the adjustment menu, modify the brightness, contrast, and saturation levels to achieve the desired visual effect. Experiment with these settings to add depth and vibrancy to your composition.

Step 4 :-
- Apply Trending Effects.
For an added touch of style, click on the “Effect” button. This will open a selection of trending effects that you can apply to both the background and foreground videos.
- Choose and Apply Effects.
Explore the available effects and select the ones that best suit your creative vision. Apply these effects to both the background and foreground videos to give your composition a trendy and visually appealing look.
Step 5 :-
Add Stickers for Personalization.
To inject a personal touch and creativity into your video blend creation, click on the “Sticker” button. This will open a collection of stickers for you to choose from.
- Add Text for a Personalized Touch.
To give your blend video creation a distinct identity, click on the “Text” button. This will open a text editor where you can add a name or any desired text to your composition.
- Customize Text Appearance.
Explore the options to change font style, text color, and adjust text opacity to suit your preferences. Experiment with various settings until you achieve the desired look for your text.
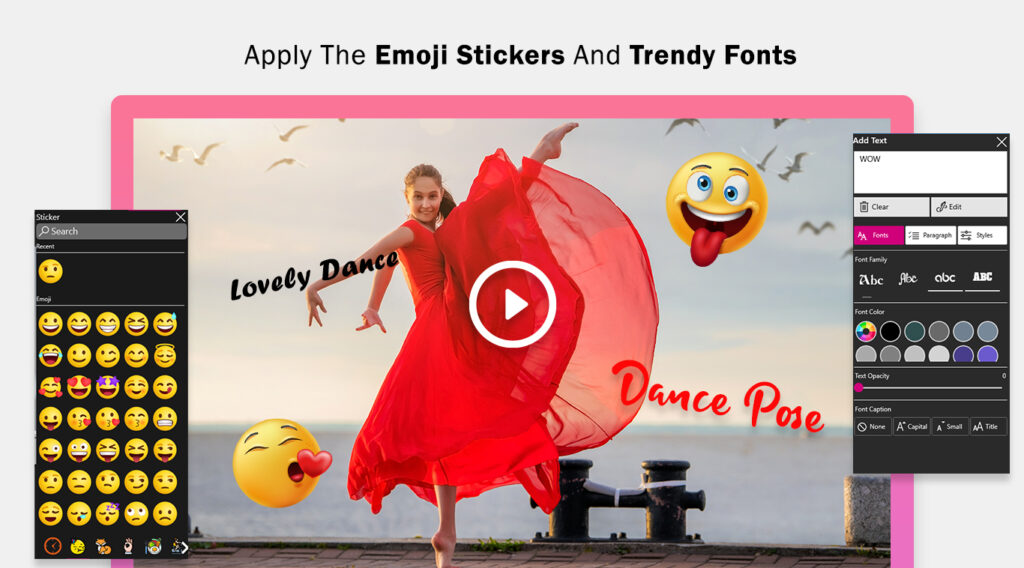
Photo Blend :-
Step 1:- Download the Video Blend – Double Exposure, BlendPic app from the Windows App Store.
- Photo Blend – Choose Photo from System Gallery.
If you want to transition to photo blending, click on the “Photo Blend” option. Choose a photo from your system gallery that you’d like to blend with another image.
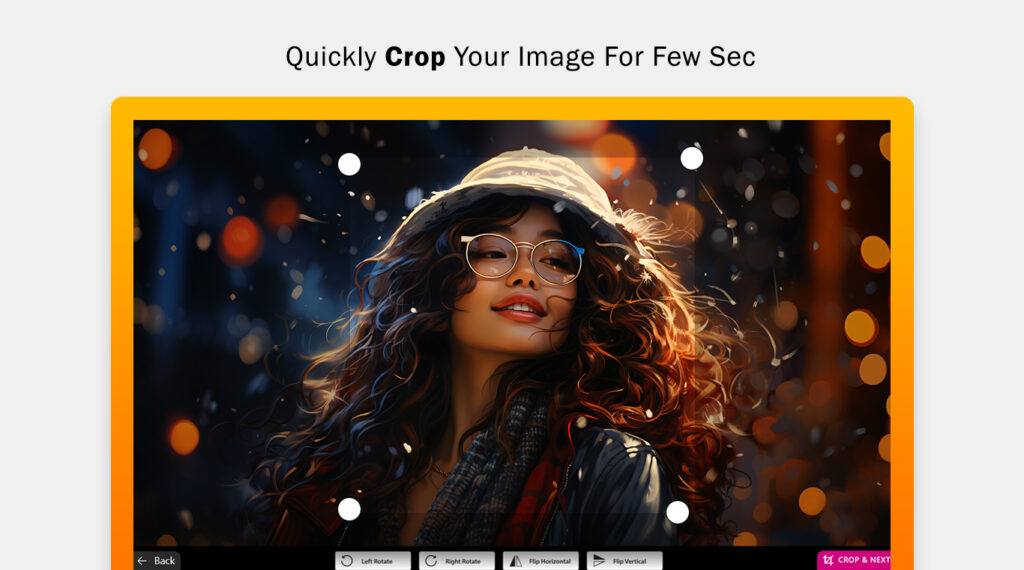
- Crop, Flip, and Rotate.
After selecting your photo, use the cropping tool to frame the image as desired. Additionally, you can flip and rotate the photo to achieve the perfect orientation for your composition.
- Click on “Crop & Next” Button.
Once you’ve adjusted the cropping, flipping, and rotation settings, click on the “Crop & Next” button to proceed to the next set of photo blending features.
Step 2 :-
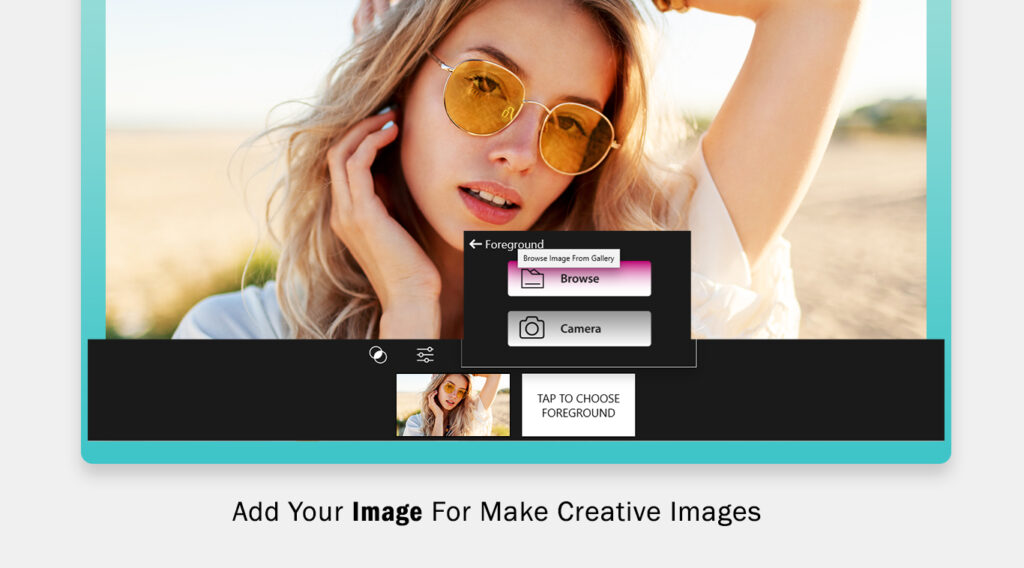
- Choose Foreground Image.
Click on “Tap to Choose Foreground” to select the second image that you want to blend with the background. You have the option to either browse your image gallery or use the camera button to capture a new image on the spot.
- Browse or Capture Image.
If you choose to browse, navigate through your image gallery and select the desired foreground image. Alternatively, if you click on the camera button, capture an image in real-time to use as the foreground in your blend.
Step 3 :-
- Blend Photo with Opacity.
To fine-tune the blending of your selected photos, click on the “Blend Photo with Opacity” icon. This feature allows you to control the transparency of the foreground image over the background.
- Choose Opacity and Blend Mode.
Select your preferred opacity level to control the transparency of the foreground image. Additionally, choose a blend mode that best suits your creative vision. Experimenting with different opacities and blend modes can result in diverse and visually striking effects.
Step 4 :-
- Refine Image Adjustments.
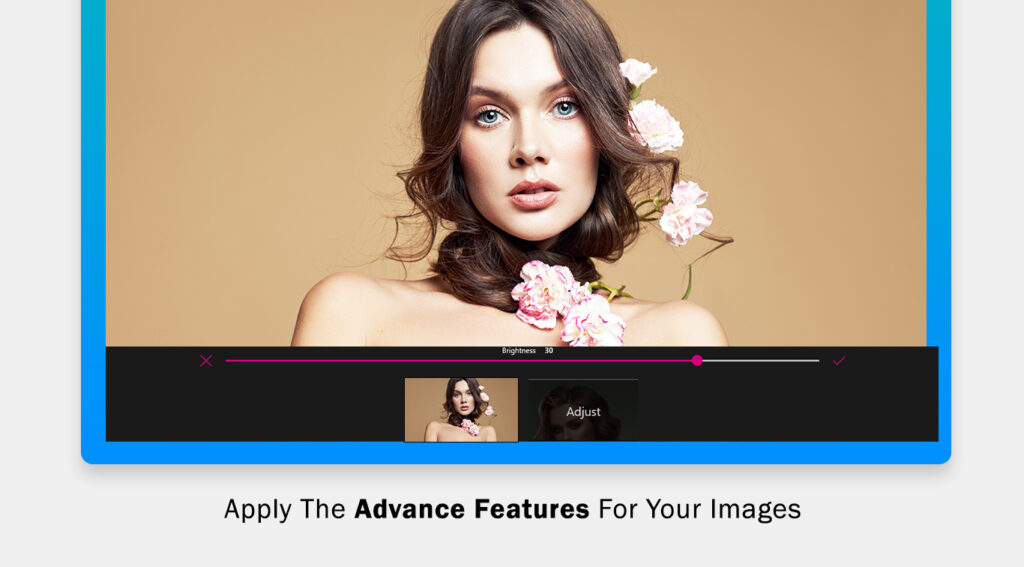
For further refinement of your blended photo, click on the “Adjustment” button. This will open a menu where you can fine-tune various aspects of the image.
- Adjust Brightness, Contrast, Saturation, Sharpness, Exposure, and Warmth.
Within the adjustment menu, modify the brightness, contrast, saturation, sharpness, exposure, and warmth to achieve the desired visual effect. Experiment with these settings to enhance the overall aesthetics of your blended photo.
Step 5 :-
Apply Effects for a Creative Touch.
To add a creative touch to your blended photo, click on the “Effect” button. This will open a selection of effects that you can choose from.
- Apply Shape Mask with Opacity.
To introduce a trendy and stylish element to your photo blend, click on the “Shape Mask with Opacity” option.
- Choose and Apply a Trending Mask.
Explore the available shape masks and select a trending one to apply to your photo blend. Adjust the opacity of the mask to control its transparency, creating a visually captivating effect.
Step 6 :-
- Arrange and Fine-Tune.
For additional customization, click on the “Arrange” icon. This feature allows you to fine-tune the positioning and orientation of your blended elements.
- Flip, Rotate, and More.
Within the arrangement options, experiment with flipping, rotating, and other adjustments to achieve the perfect composition. This step ensures that your photo blend is visually appealing and aligned with your artistic preferences.
step 7:-
- Add Stickers for Personalization.
To infuse a touch of personality and creativity into your photo blend, click on the “Sticker” button.
- Choose and Apply Your Favorite Sticker.
Explore the available stickers and select your favorite. Apply the chosen sticker to your photo blend, adding a fun and personalized element to your composition.
- Add Text for a Personal Touch.
To give your photo blend creation a personalized touch, click on the “Text” button.
- Customize Text Appearance.
Within the text editor, give a name or any desired text to your photo blend creation. Adjust the opacity, change font style, and select text color to match your vision.
- Apply Text to Your Photo Blend.
Once you’ve customized the text, apply it to your photo blend, allowing you to add a narrative or identification to your composition.
step 8 :-
- Save Your Photo Blend.
Once you are satisfied with your photo blend creation, click on the “Save” button.
- Choose Save Location.
Select the desired location on your device to save your photo blend. You may also have the option to name your file at this point.